This Easter saw the first proper, on-site, Revision demoparty since 2019. It’s the world’s biggest pure demoscene event, an overall awesome happening and it tends to have really good competitions. 🙂
As the party was getting closer, and after putting our original plans on hold due to lack of time, lug00ber and I decided to make a short 4 kilobyte intro for the Amiga 500, just so that we wouldn’t show up completely empty-handed. I tried out a couple of effect ideas and after a few failed attempts I ended up going with an "x-rotator"-based effect.
The result was Candiru, which got the 2nd prize in the oldschool 4k intro competition at Revision. You can watch the recording of the competition here.
X-rotator, you say?
As with many oldschool demo effects there’s no definitive name for this technique, but "x-rotator" seems to be quite common. Similar approaches can of course be used for things that don’t rotate at all, such as the nice carpeted hallway in the opening scene of Sanity’s ARTE.
It’s basically about changing colors and graphics every scanline, in order to draw shapes (such as a cube rotating only around the x-axis). E.g. "on scaline 33 I want to show a line of graphics that is 80 pixels wide, with color #f08." It’s been used on many different oldschool platforms, but the Amiga is particularly well suited thanks to its copper, which is made for per-scanline work.
I really like this technique, both because it lets you make stuff that looks "big & heavy" and because there’s lots of opportunities for variations on the basic rendering concept. Since you’re effectively working with a 1-dimensional frame buffer, with 1 entry for each scanline, you can spend quite a bit of cpu time on shading it, while still running at 50 frames per second.
There’s a lot more to this than I’ll cover here, so if this post leaves you wanting even more opinionated x-rotator info you can check out Irregular Review, issue 2 (section 4, in the review of Insane’s "Gerp 2016") where I went on a long tangent about how it’s been used in various older Amiga demos.
Some x-rotator variations
I’ve done a few versions of this effect now, so why not use the release of Candiru as an excuse to go through some of the implementations and look at how they differ.
However, one thing these do have in common is that they’re all pre-rendered, one object (or bar, if you will) at a time, using a z-buffer. This means that there’s no overdraw to bother with when the effect is being displayed, so the run-time code can focus on shading just the things that are visible on screen. It could be fun to do a version with real-time visibility optimization at some point, but none of the following three do that.
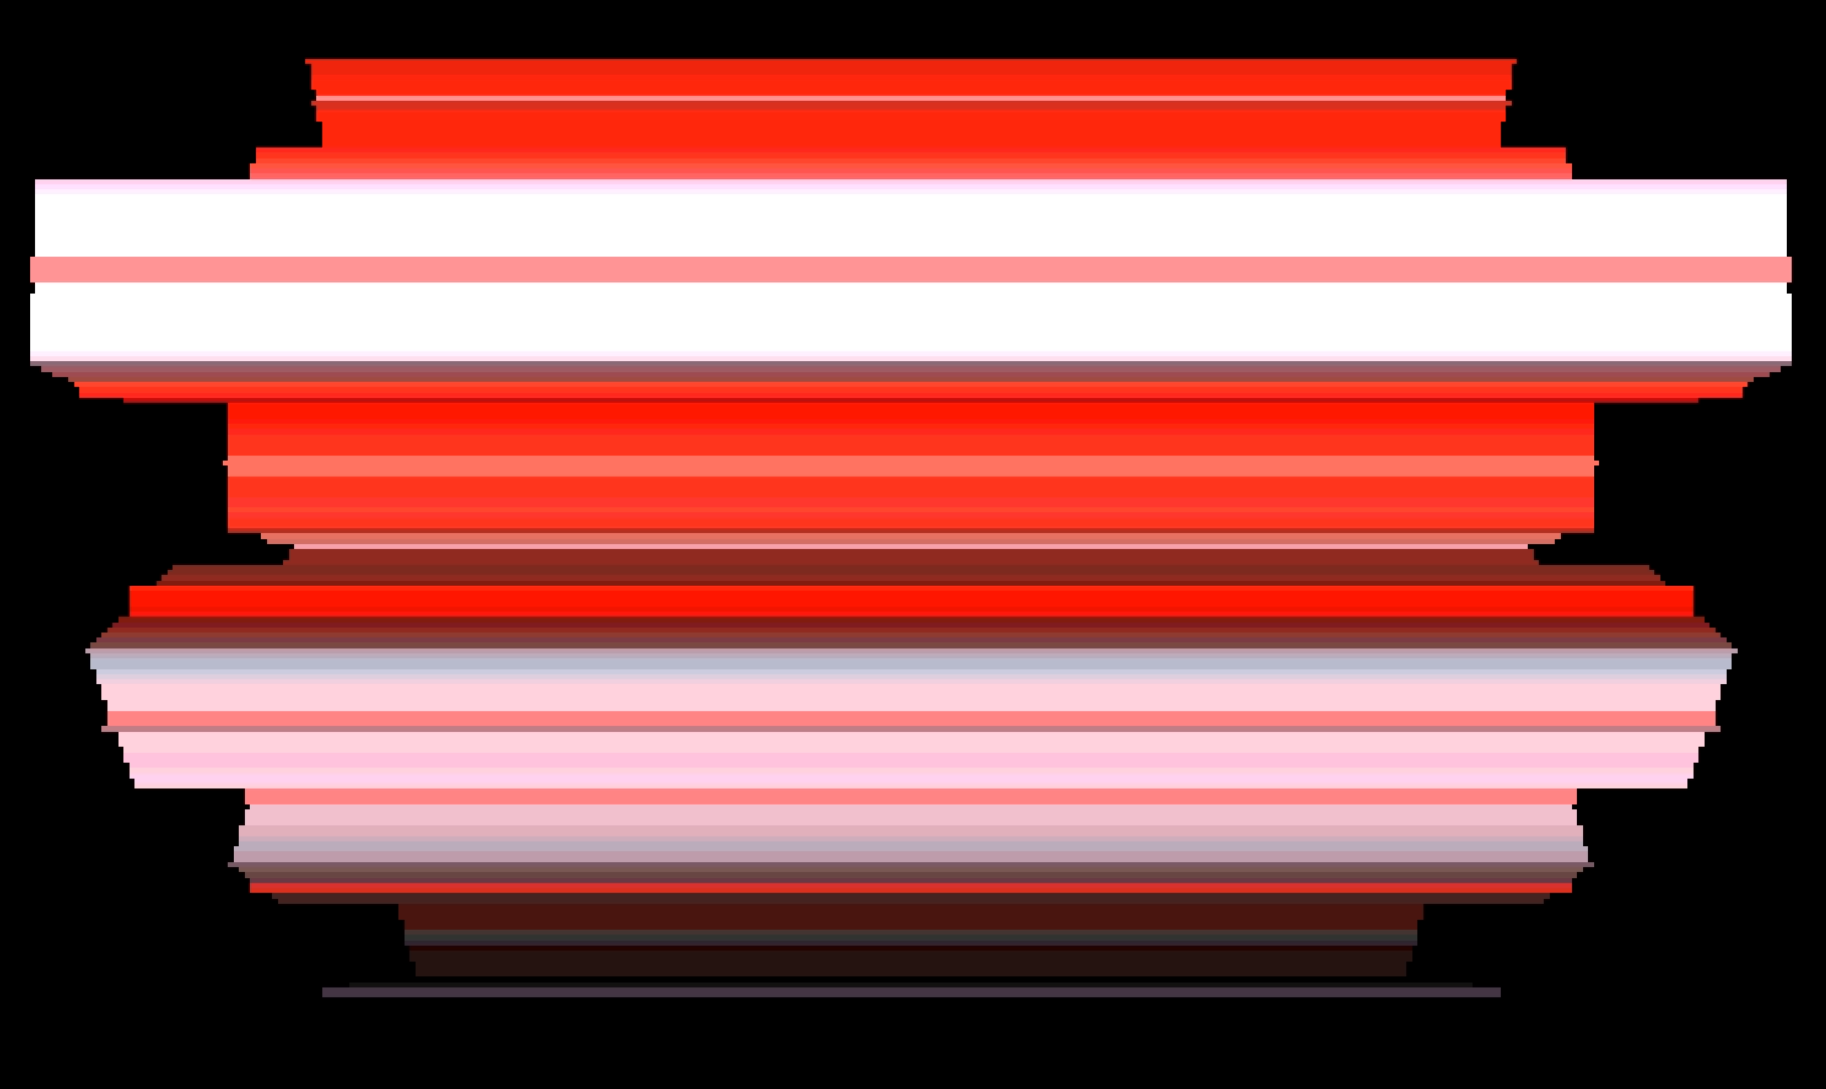
HDR Raymarching
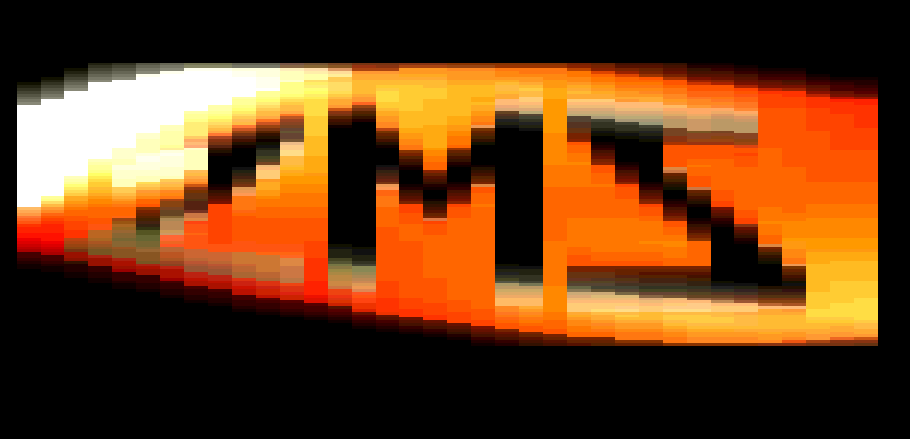
HDR Raymarching is a bootblock intro, released at Finnish Amiga Party 2014 under the distinguished Zymosis label. It’s not actually raymarching anything, nor is the range particularly dynamic, but it’s a good, fancy-sounding title when you want to win a competition.
Here the effect was size-optimized to fit within the 1012 free bytes of an Amiga bootblock, which limited the amount of performance tricks and visual fanciness. It’s also not a "proper" x-rotator as each line drawn on the screen is the same width, without any horizontal perspective distortion. But it does consist of copper bars rotating around the x-axis, so at least it’s a close relative.
We precalculate several animation loops (16 loops of 128 frames each) at startup and stitch them together by making the copper change the screen color several times per scanline (every 8th pixel). The C64 crowd would probably call it a raster split effect. These splits allow for variation in the movement and graphic patterns of the effect (e.g. all the rubbery twisting and switching between the logo and the copper bars).
"Lighting" and glow / blur is baked into the precalculated animations and can not be adjusted while the effect is running (so no color flashing this time around). To give it slightly more entertainment value the final version changes the color of the effect each time you reset the Amiga and restart the intro.
There’s no actual lighting. I simply alternate between 2 fixed colors for the odd- and even-numbered faces of the rotating bars and apply depth fog. The fog is calculated per face (as opposed to per line), so each face still has uniform color at this stage. This also goes for the depth testing, which uses the same depth value for all lines of a face. This saves both performance and bytes, since we don’t need to interpolate the z values, and it works fine with the geometry we’re rendering in this intro.
There’s also a tad of "afterburn" (or poor man’s motion blur) involved, as I downshift the contents of the color buffer (effectively multiplying it by 0.5) instead of clearing it before rendering a new frame. This helps a lot in giving us a more noticeable blur / color bleed along the edges of the object. And, surprisingly enough, you don’t really notice that it doesn’t match up for the first 1 or 2 frames at the beginning of each animation loop (i.e. when the old contents of the color buffer comes from a different set of objects than what we’re currently rendering).
I then apply a running-sum blur with 16 samples and mix the result 50/50 with the original color buffer, for a crude glow / bloom effect.
All color processing is done at higher precision, before downscaling and clamping to the 12-bit RGB values (4 bits per color component) that an OCS Amiga can display. The source colors and fog have 6 bits per color component and the running-sum blur accumulation uses 10 bits per component. Even though this is a fairly simple approach the result is a lot of nice-looking color bleeding which, in my opinion, makes the shading look fancier than you’d perhaps expect on an A500.
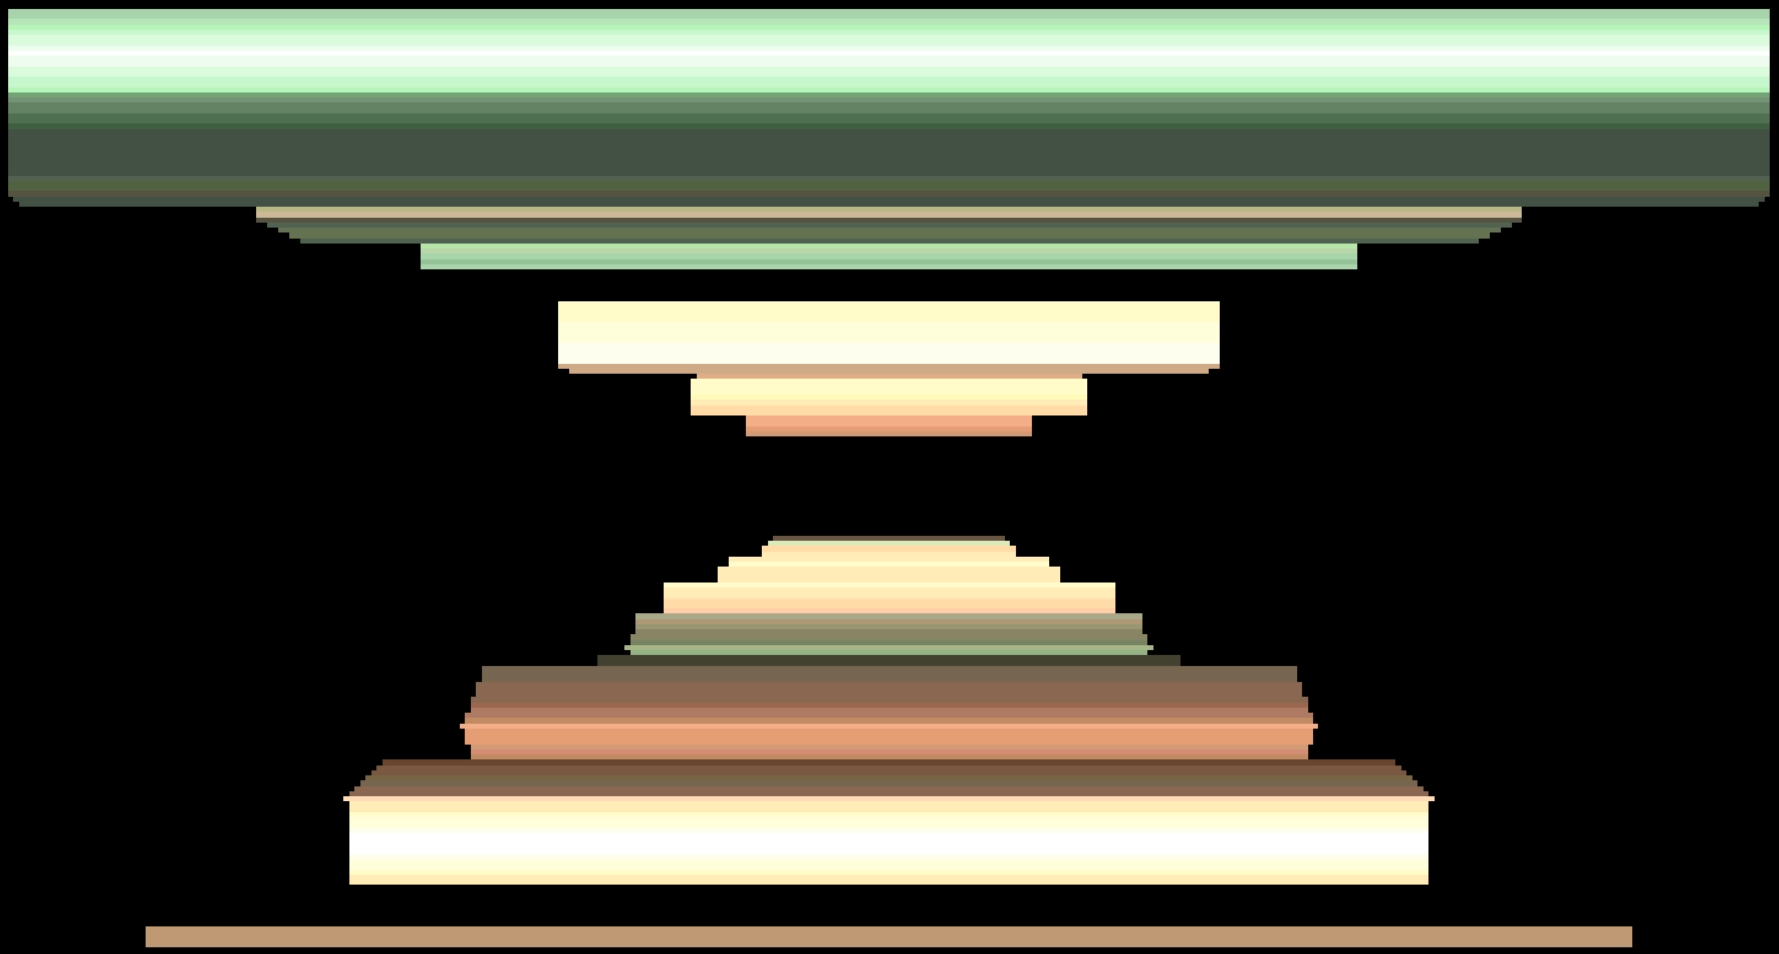
Emperor of the North Pole
Emperor of the North Pole (2014) and Straff (2013) used pretty much the same code (I think there were some minor improvements for Emperor, but can’t remember what they were). Unlike HDR Raymarching this is a "real" x-rotator, with a more 3-dimensional look thanks to the horizontal perspective distortion.
There were two things I wanted to do differently from most of the earlier x-rotators I’d seen on A500 at that time:
- Use dithering to get higher precision for shading and colors and try to overcome some of the limitations of 12-bit OCS colors.
- Offline precalculation of all the on-screen action (aka "storing everything as an animation"), in a small enough amount of data, so that we could include multiple sequences with fairly heavy "3D" geometry.
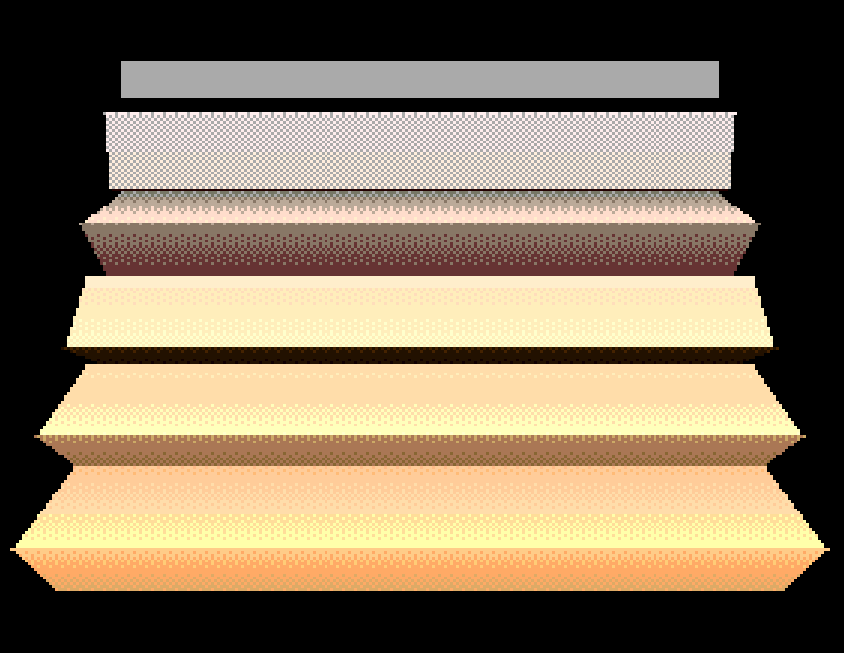
The scenes were rendered naively on a fast A1200 and each resulting frame was converted into a list of spans, each covering anywhere from 1 to 190 scanlines. The height was stored together with the width and brightness values for the top and bottom of the spans.
The brightness is a 6-bit, single-component value based on lighting + fog. One of the parts in Emperor (towards the beginning, when showing both yellow and purple bars) also used a 1-bit "material id" baked into the brightness, which is just a fancy way of saying we used that bit to decide whether the RGB color values for the span was fetched from palette 1 or 2.
Since the spans were generated from a frame buffer at the same resolution and bith depth as the target image, the accuracy of the final rendering is not great. I also allowed a little bit of error / lossiness in the span generation in order to reduce the number of spans for scenes that had a lot of geometry, both for size and performance reasons. However, there’s enough movement and color flashing in the demo to cover up most of the precision glitches.
When the effect is running a frame is rendered by interpolating between the widths and brightness values of the spans in the corresponding frame list. The resulting buffer is then converted into a copperlist, which includes using the brightness value to select dithering pattern and pick a pair of colors from a palette.
Since the color palette is separate from the precalculated data we can modify it, which allows for (the always important) flashes, fades and other color changes in sync with the music. Combined with the possibility for really complex objects, like the "meta-blob-whatevers" in Emperor, this means we can have some really modern-looking (at least in an Amiga context) visuals.
However, compared to Candiru and HDR Raymarching, this variant is missing some nice color bleeding and overall shininess. Additionally, the on-disk precalc makes it unsuited if file size is a concern, and it also increases the probability of angry, pitchfork-wielding villagers shouting "ANIMATIOOOON" outside your castle walls.
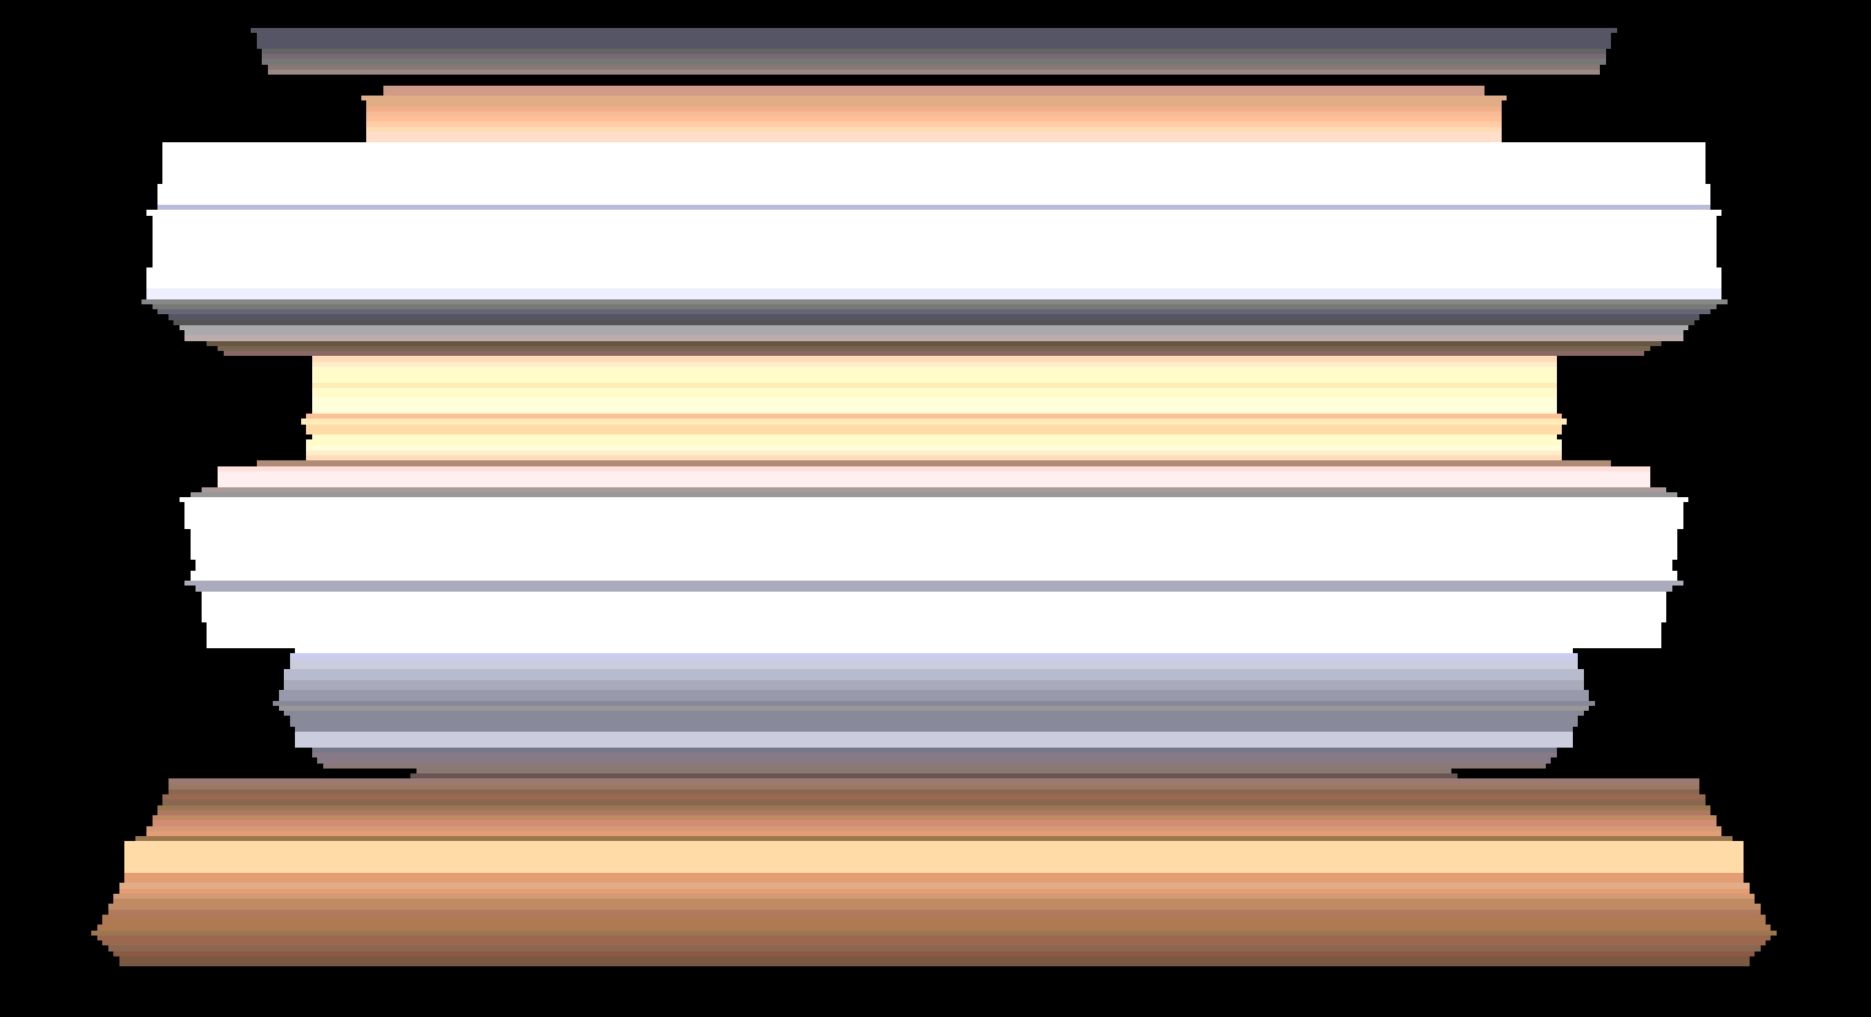
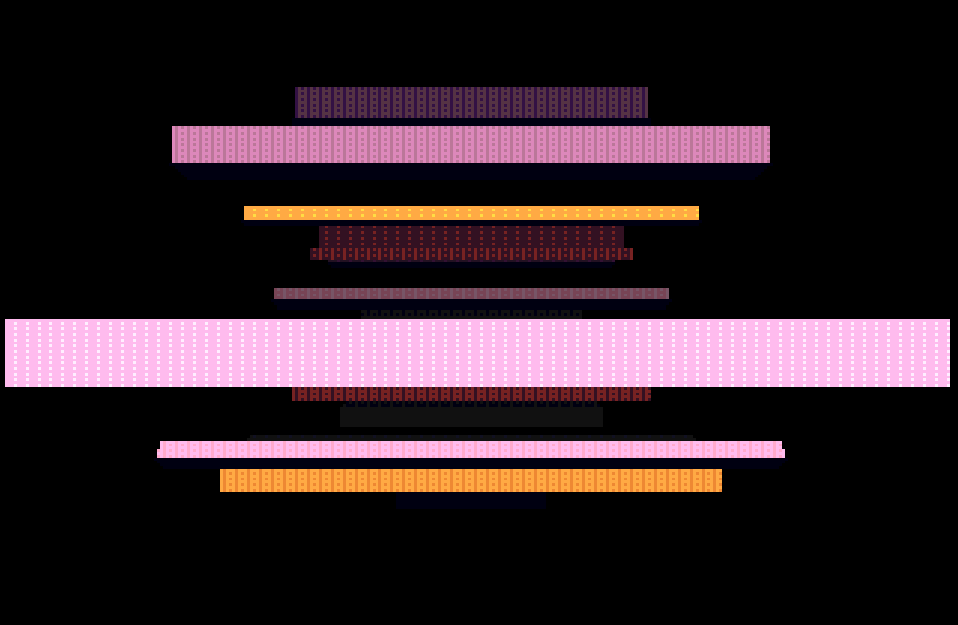
Candiru
Candiru is a 4k intro, which obviously is kinda small, but 4096 bytes after crunching still gives us much more to work with than the uncrunched 1012 bytes HDR Raymarching had to fit into. Many of the extra bytes were spent on music, the end text, sync scripting and parameter tweaking, but The Main Effect Code still fit quite comfortably. A lot of this is thanks to Blueberry’s excellent softsynth Cinter and cruncher Shrinkler, which allowed me to finish the intro without any desperate, last-minute byte hunting.
The different scenes are based on 4 animation loops, each 64 frames. These are precalculated at startup, using a fairly naive renderer with flat-shaded lighting and z-buffering. The light (brightness) is just the the z-component of the face unit normal, raised to the power of two. In the two last loops, with the large rotating objects, I adjust the brightness to make objects further away from the screen slightly darker (without having to deal with that while the effect is running, as we do in the scene with moving light).
For each scanline of each prerendered frame I store 6 bytes containing width, material id, brightness, 16-bit depth and a padding byte (to allow for aligned 16-bit memory reads). The loops take up a total of 4 * 64 frames * 180 scanlines * 6 = 270kb of memory.
This precalculated data is then used for simple deferred shading while the effect is running.
- The 8 bit brightness values are biased, clamped and then used as to index into a 24-bit color gradient palette. This lets us adjust the color brightness up / down and also change to a different color (unlike HDR Raymarching, where the final color was baked into the precalculated data).
- Material id’s are used to switch between different palettes and brightness biases. This lets us color cycle the animations (I only store 90 degrees of rotation for the two last loops) and make some objects flash brighter than others.
- The depth value is used to create the moving light in the second scene. This is done simply by using (light.z – scanline.z)^2 to bias the brightness before the palette lookup is performed.
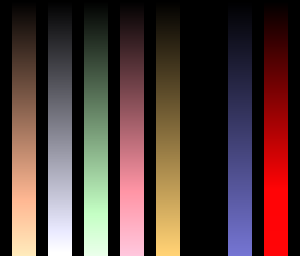
There are 8 different palettes in the intro, but a couple of them are not used. Each one is generated simply by linearly scaling a single 24-bit source color. The black palette is used to "hide" objects in a couple of the scenes (and then the colors of the other objects leak onto them, which looks quite neat).
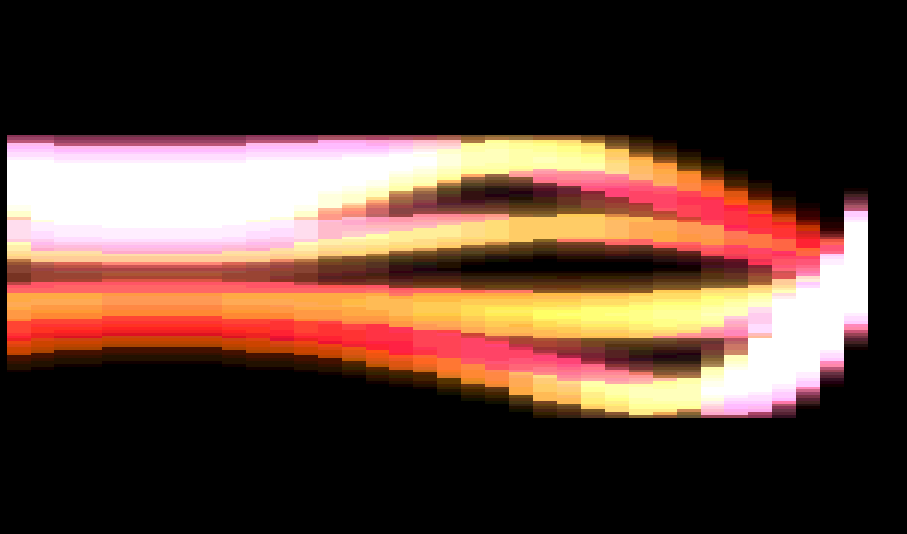
Once we have a buffer with one 24-bit color for each scanline it’s time to do the final blur and glow. I use the same type of running-sum blur as in HDR Raymarching, but with higher color precision (still 16 samples, but now working with 8-bit source color components). It’s also been performance optimized since we’re now blurring while the effect is running at 50 FPS, instead of during the precalc phase.
The composited blur only affects the parts of the screen where we’re rendering something. In other words: the blur does not bleed out onto the empty areas of the screens to create a glow around our objects, it only affects the colors of the objects’ faces. I like how this makes the objects look shiny and slightly rounded, as opposed to just "blurred out". A side-effect of this is that the color of an object far away on the z-axis can leak onto the faces of objects much closer to the screen. This might not make much physical sense, especially when the edges of the objects are all razor sharp, but I don’t think it ruins the overall experience.
Another nice thing this time was to have per-scanline depth testing (unlike HDR Raymarching) and decent precision (unlike Emperor). I used this to create slightly more interesting objects in the last two animation loops by intersecting bars. Lighting and blur helped create fake shadows in the final image.
So, that’s it with the x-rotators, right?
Probably not, there’s at least a couple of other variations I’d like to try out as well, unless someone else gets there first. 😉

Reblogged this on BYTEZZ.